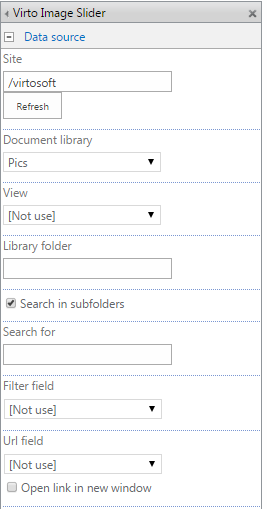
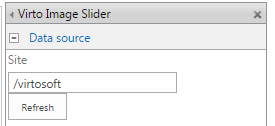
Select SharePoint site where you want to take pictures from.
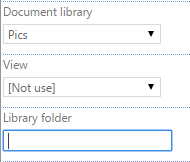
Then select a Document Library where the pictures for future slideshow are stored.
You can define not the whole picture library but just a folder within it as a data source. Just type the exact name of a folder in “Library folder” field.
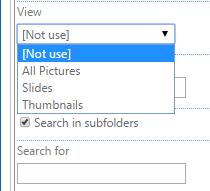
It is possible to select view for slideshow.
If you check the box “Search in subfolders”, the pictures will be taken from all subfolders of document library. If the box is unchecked, pictures will be taken only from root folder.
You can filter displayed pictures with filling out “Search for” field. For example enter *.jpg and the system will show only .jpg files.

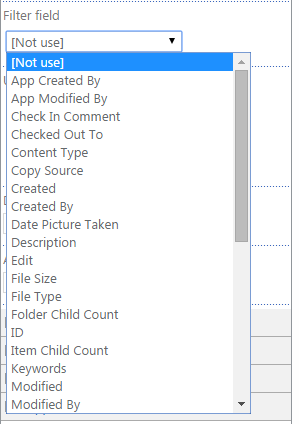
You can define “Filter field” and display pictures by chosen parameter.
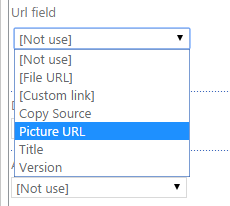
The web part settings allow you to display different information when you click any picture from your slideshow. For example, create field “Picture Url” in the source list and select it in the “Url Field” dropdown for the slide show.
Add picture URL’s for all pictures in your Document Library.
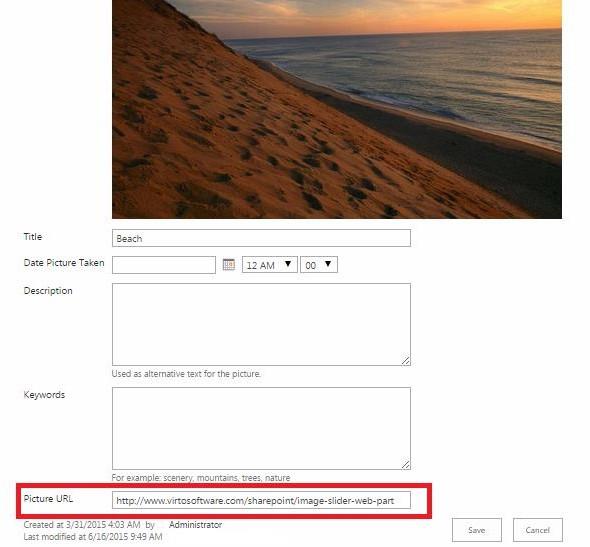
In this case when you click any picture in the slideshow, you will go the direct link of the picture.
You can use one link for all images in the slideshow. In this case just select “Custom link” and enter the full link to the required field.
Note: to work properly, the link should have http:// format.
Check the box “Open link in a new window” if you need.
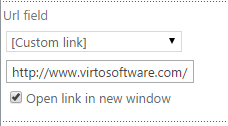
Now when users click images, they will be directed to the defined link.
In case you need to display description of pictures in the slideshow, select required position in “Description Field”.
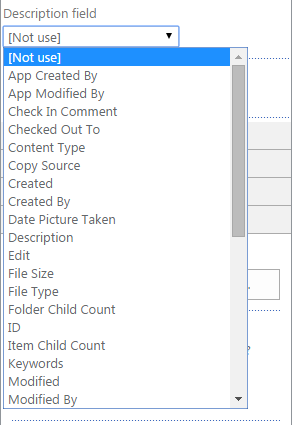
“Alt field“ contains alternative information in case the picture is not displayed for some reason.

Click “OK” or “Apply” to save the settings.