Columns visualize the workflow across the Kanban board.
Choose any of the choice fields from your source list for the set of columns. Typically, columns represent the status of a task, but you can select any other choice field.
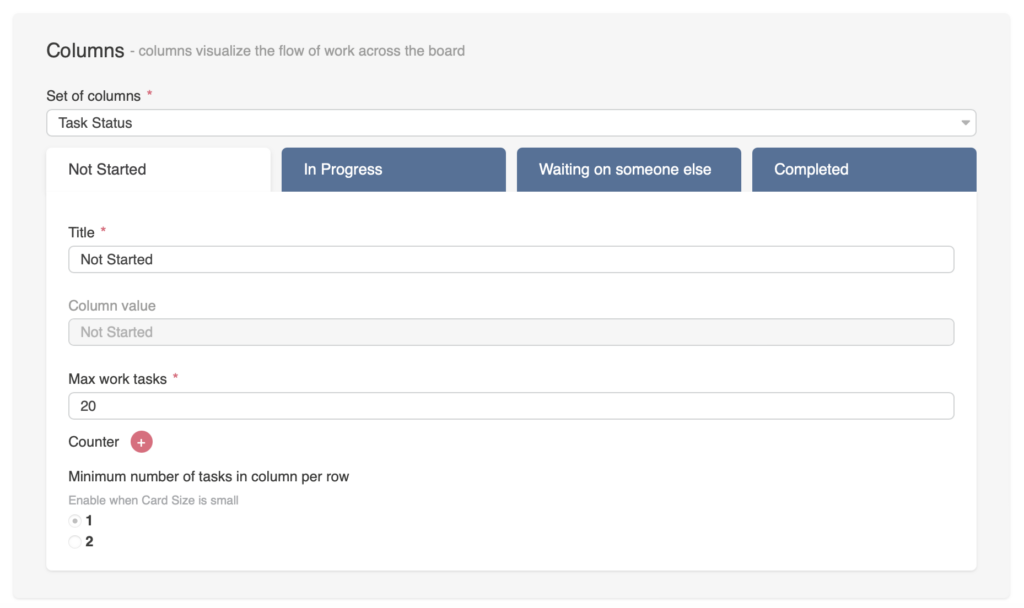
Be cautious when changing the set of columns or renaming them. For example, if you change the columns from task status to another choice field and rename them, your task cards may lose their status. In this case, change the column value back to “Task Status.”

Once you’ve selected a field for your columns, you can adjust their order. Click the “…” next to a column name to move columns left or right, or to delete them. You can also re-insert columns you have previously deleted.
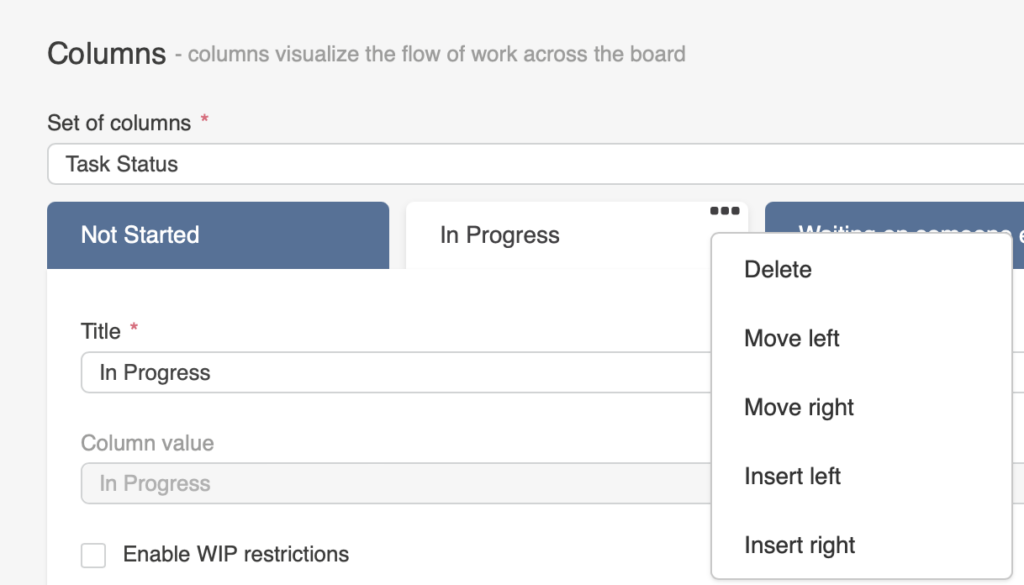
You can define a custom title for each column, while the column name remains unchanged in the list.
Set a work-in-progress (WIP) limit. If the WIP limit is exceeded, the number of tasks in the column will be highlighted in red.
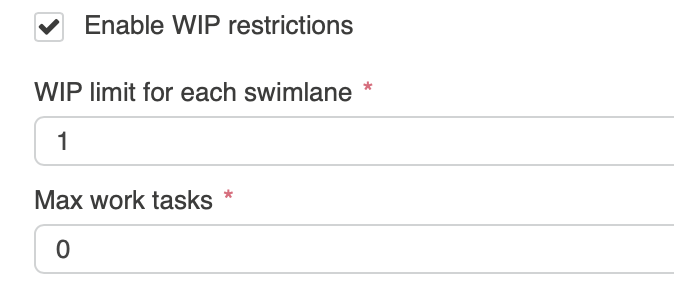
The first and last columns do not have a WIP limit.
The “Max work tasks” is the maximum number of tasks allowed in a column. If you set it to 0, there will be no task limit. This feature is useful when working with large lists with many tasks in a column.
The difference between the WIP limit and Max work tasks is that the WIP limit provides a visual alert when the number of cards exceeds the set limit, while “Max work tasks” prevents the creation or movement of more cards than the set limit.
This option is available when you choose the small size of tasks on the board.
The “Minimum count of tasks in column per row” option allows you to set the number of tasks that will fit in the selected column.
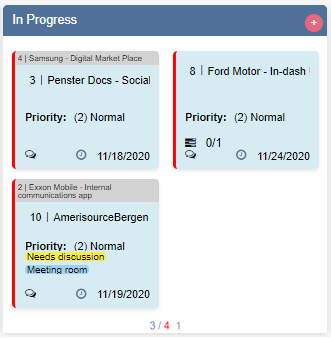
For example, if you set three max work tasks for a column, only three tasks will be displayed, even if there are four.
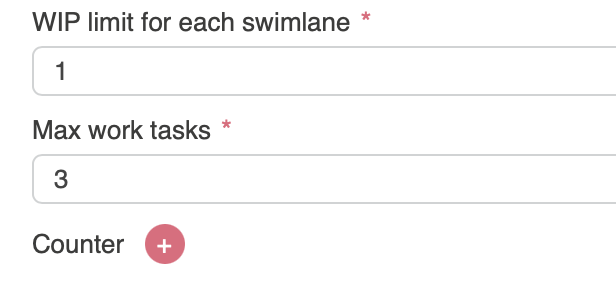
To display all tasks, click on the number to expand the column. Click again on this number to collapse the column according to the max work tasks count.
You can use the counter feature to aggregate data from columns. The current version of the Virto Kanban Board web part offers two functions: “Sum” and “Average.”
This feature is useful if a task has an “Hours” field (a custom number field) that specifies the time required to complete a task. Click “+” next to “Counter” and select the “Hours” field and the “Sum” function (or use the “Average” function to calculate the average value). The total time required to complete tasks will be displayed above all tasks in the column.
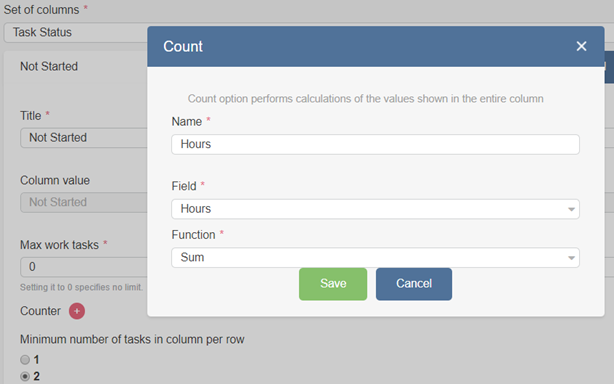
Click “+” next to “Counter” and set the values in the pop-up window, then click “Save” to apply the settings.
The selected task field must contain a numeric value.
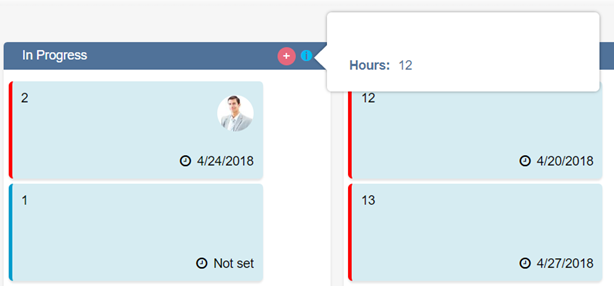
Now, the total counter will show the total number of hours required to complete the tasks in the “In Progress” column.
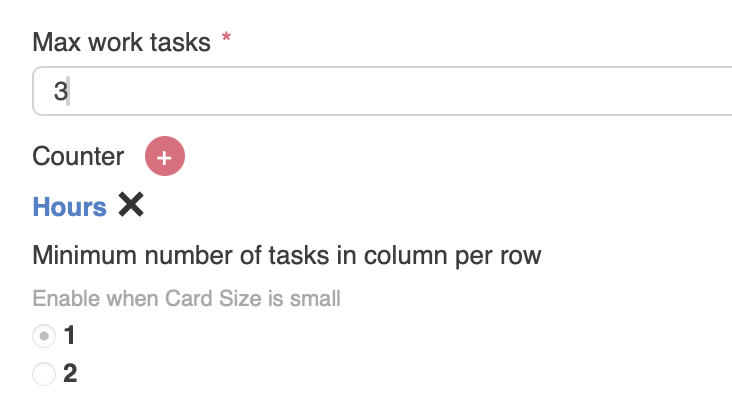
Click the cross icon next to the counter name to delete it.
If the board has swimlanes, the counter will be applied to each cell (the part of a column within a swimlane).